Installing VirtualBox on Windows
Before VirtualBox virtualization can be used it is first necessary to install it on the host system. The method of installation differs depending on the operating system running on host. In this chapter of VirtualBox Essentials we will be focusing on performing the installation on the Microsoft Windows family of operating systems.
Downloading VirtualBox for Microsoft Windows
VirtualBox is supplied as a pre-built, ready to run package for most operating systems including a Microsoft Windows flavors. The installation package is supplied in the form of a Microsoft Installer (MSI) file.
To download the appropriate installation archive open a browser window and go to the VirtualBox downloads page. On this page click on the Binaries (all platforms). From the download page select the appropriate Windows version from Platforms drop down menu (at time of writing the available options are Windows AMD64 and Windows x86. Select a language if required, read and agree to the license terms and then click on Continue.
On the final download page click on the link to the VirtualBox installation file (typically named something along the line of VirtualBox-1.6.0-Win_x86.msi) to initiate the download and save the archive to a suitable location on a disk drive.
Installing VirtualBox on Microsoft Windows
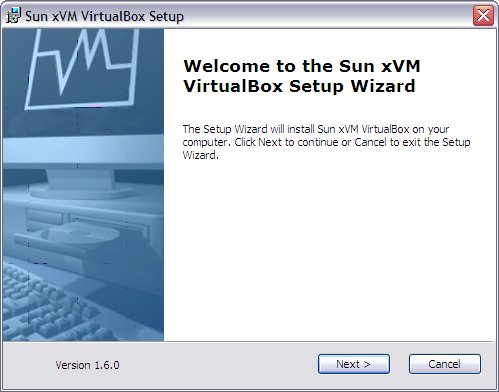
Once the VirtualBox installation archive has been downloaded the next step is to begin the installation process. This can most easily be achieved by locating the installation archive downloaded in the previous section in Windows Explorer and double clicking on it. Once launched, the initial installation window will appear as follows:


